My Local Environment for Automation: NAPALM and DevNet
Introduction
In 2020 I started a series of automation videos using the network automation python library called NAPALM. A follower recently asked me in one of the videos, if i could provide details on what software I use to create my local environment and how I integrate the whole system so that it works as shown in the videos.
To respond to this, I decided to write this post to share the list of software that and the configurations that I made. I use this environment not only to practice with NAPALM, but also to practice for all DevNet certifications. It helped me a lot to get the DevNet Associate certification and to pass the DevNet DEVCOR 350-901 and DevNet SPAUTO 300-535 exams. With which I obtained the Cisco DevNet Professional certification.
For my Spanish-speaking followers i made a YouTube video in which I show in more detail what I share below.
Installed Softwares and Configurations
Operating system and resources of my PC
The first thing I want to share with you is the operating system. My computer has Windows 11 Pro.
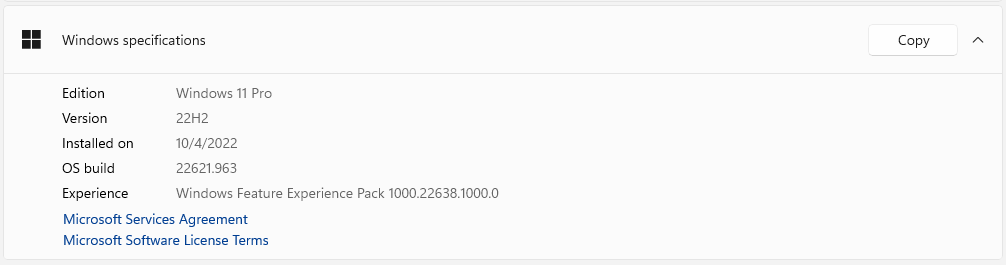
This does not mean that if you have a Linux distribution, you cannot create the same local environment that I will show you. On the contrary, it will be easier to create the environment in a linux distribution.
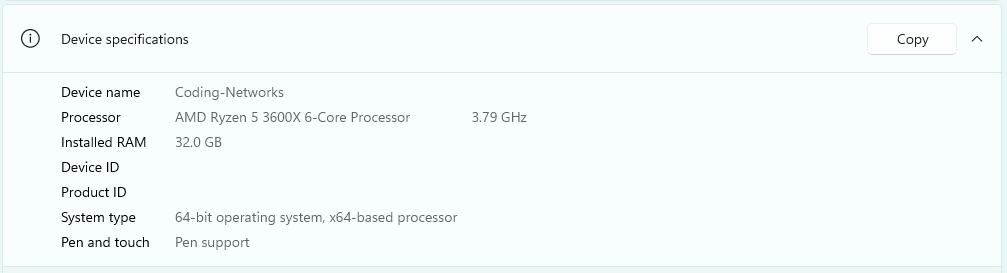
In terms of resources, the basic processing and memory specifications of my computer are those shown in the following image:
Software List
VMWare Workstation 15 Pro
VMware Workstation Pro is a desktop hypervisor that allows you to create and run one or multiple virtual machines on one computer or host. This host can be based on the Windows or Linux operating system. And the virtual machines can run Windows, Linux or BSD.
To use VMWare Workstation Pro permanently, you need to purchase a user license. All the details can be found on the official page. Here is the link:
You will notice that it is currently on version 17. This version, unlike 15, which is the one I have, allows you to run containers and Kubernetes, but this is content for another post. Anyway, it doesn’t matter which version you have, both will work for you to build my local environment.
Network Virtual Interface Configurations
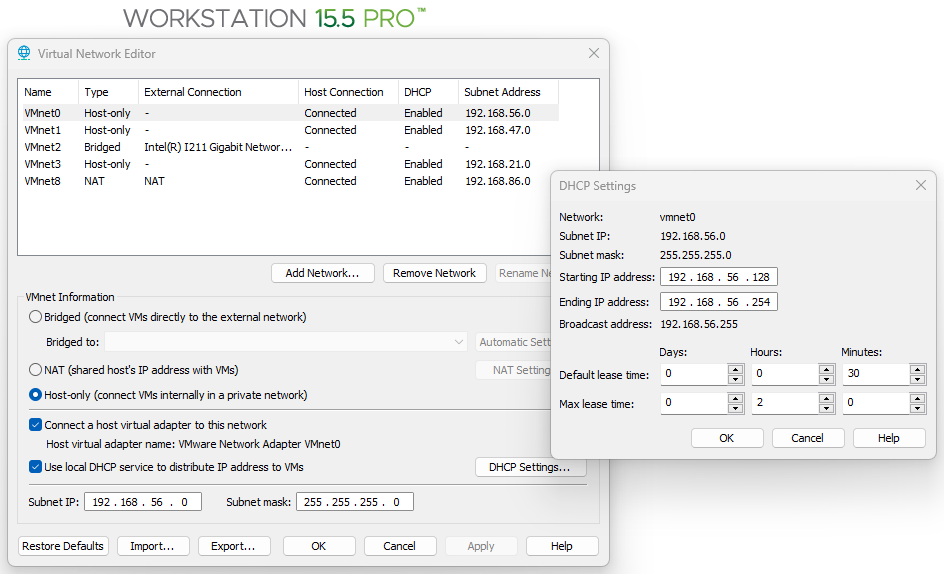
To communicate all my virtual environments I configured VMnet0 virtual network interface:
- As “Host-only”. To allow the host and virtual machines to communicate with each other through a private network.
- I enabled the “Connect a virtual host adapter to this network” option, so my Windows 11 Pro would have a virtual network interface over which to communicate with the virtual machines.
- Enable and configure the DHCP option for dynamic IP assignment for the 192.168.56.0/24 range.
Emulated Virtual Environment(EVE) Next Generation(NG) 5
EVE-NG is an emulated virtual environment for network, security, and DevOps professionals. It is clientless, multi-vendor network emulation software that provides networking and security professionals with tremendous opportunities in the world of networking.
EVE-ng can be used to study all kinds of technologies. It provides tools to use around virtual devices and interconnect them with other physical or virtual devices. Many of its features make it simple: usability, reusability, manageability, interconnectivity, distribution, and the ability to understand and share topologies, jobs, ideas, concepts, or virtual labs. It helps reduce the cost and time spent configuring what is needed, and it would make it easier to accomplish difficult tasks.
To download, install and configure EVE-NG you can enter the official page where you will find the download links and the necessary documentation to install and configure it. Here is the link:
Emulated Virtual Environment(EVE) Next Generation(NG) 5
Configuring the network interface to set the IP address
nano /etc/network/interfaces# The primary network interface
iface eth0 inet manual
auto pnet0
iface pnet0 inet static
address 192.168.56.56
netmask 255.255.255.0
pre-up ip link set dev eth0 up
bridge_ports eth0
bridge_stp offImages for the Nodes in EVE-NG
Cisco platform images are downloaded from Cisco Software Central. It is important to mention that your Cisco account must have a support contract associated with it in order to download the images. Since I work for an Internet Service Provider (ISP) that uses Cisco devices, a support contract is associated with my account. Unfortunately you are not allowed to share the images and for this reason I do not share them.
Once you get the images, follow the instructions found in the documentation: EVE-NG Images Howtos
For the images of Huawei platforms, I’m sharing you two links where you can download the images of two platforms that do not require licenses or a support contract to download and use them.
- Huawei CE12800. In this link you can find both the image and the step by step to install it in EVE-NG.
- Huawei NE40E. In this link you can find the image only. Use the step by step link above to install this image in EVE-NG.
My Multi-vendor Basic Lab
Here I share one of the topologies that I have. Which allows me to easily test NAPALM on Cisco and Huawei:
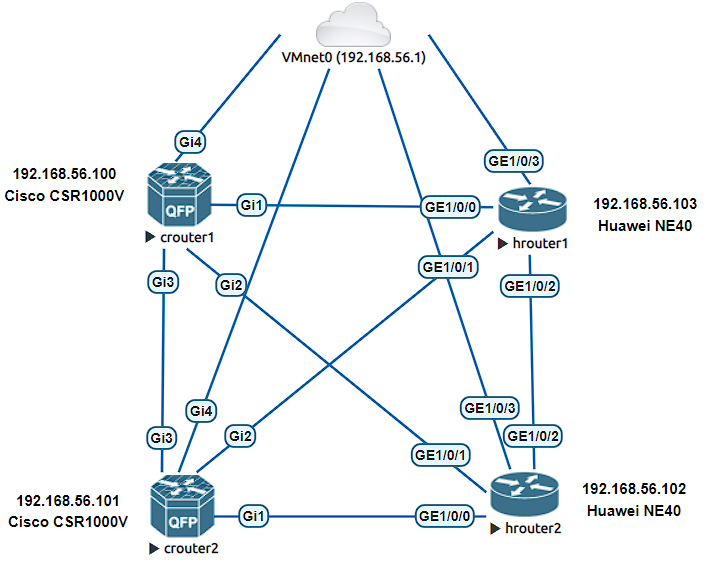
You can find the configuration for each of these routers in the following public repository on GitHub:
Network Topologies Configurations
Using Domain Names to access devices
I personally like to work with domain names and not IP addresses to access my devices. That’s why I modify the hosts file to include IP – Names mappings. The path to find the hosts file in Windows is as follows:
C:\Windows\System32\drivers\etcThese are the mappings I have to access EVE-NG and network devices.
192.168.56.56 eve.local
#
192.168.56.100 crouter1
192.168.56.101 crouter2
192.168.56.102 hrouter2
192.168.56.103 hrouter1
Ubuntu WSL
The Windows Subsystem for Linux or WSL is a Microsoft tool that allows developers to run a GNU/Linux environment, including most command-line tools, utilities, and applications, directly on Windows, without modification, without the overhead of a traditional virtual machine or a dual boot configuration.
Knowing and mastering Linux is mandatory in DevNet and in everything related to network automation. It is the operating system preferred by the community and all the automation tools are being created on top of it. For this reason I use Ubuntu WSL.
If you are a native Linux user you don’t need WSL for obvious reasons.
Ubuntu WSL can be easily installed on Windows, just by running the following command in the Power Shell console:
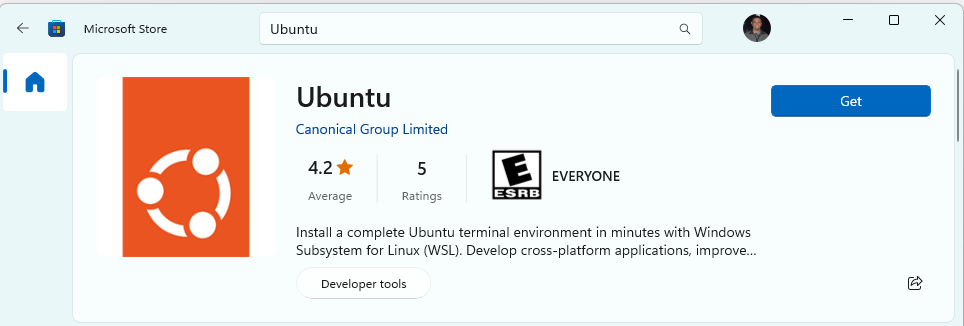
wsl --installYou can also install it through the Microsoft store:
Visual Studio Code
Visual Studio Code(VSCode) is a lightweight yet powerful source code editor that runs on desktop computers and is available for Windows, macOS, and Linux. It comes with built-in support for JavaScript, TypeScript, and Node.js and has a rich ecosystem of extensions for other languages and runtimes (such as C++, C#, Java, Python, PHP, Go, .NET).
Visual Studio Code can be easily downloaded and installed from its official page: Visual Studio Code
I like to run Python on top of the WSL and therefore embed Visual Studio Code to modify files on top of the WSL. Here are two VSCode extensions that I use:
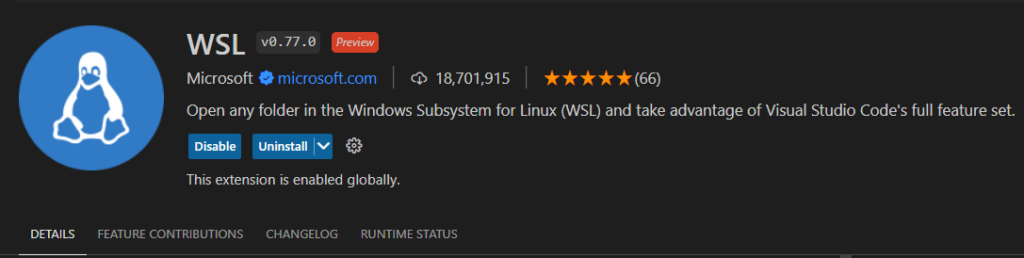
WSL extension
It allows you to open any folder in the Windows Subsystem for Linux (WSL) and take advantage of the full set of Visual Studio Code features.
Python extension
It is a Python extension that includes multiple tools such as code formatters, support for unit testing, debugging, and linting.

Running my code with the NAPALM library
With all the software already installed and configured, we can copy-paste the codes that I shared in the posts NAPALM Network Automation Python: Working with Cisco IOS and IOS-XR and NAPALM Network Automation Python: Working with Huawei VRP.
We start by creating a new virtual python environment and installing the necessary libraries.
mkdir napalm_series && cd napalm_seriespython3 -m venv venv_napalmsource venv_napalm/bin/activatepip3 install napalm-huawei-vrppip3 install tabulateFinally copy and paste the codes of the publications, update the list of devices with the names of your devices and that’s it. You just have to run it. Here I put one of the codes so you do not have to leave this publication:
import napalm
from tabulate import tabulate
def main():
driver_ios = napalm.get_network_driver("ios")
driver_iosxr = napalm.get_network_driver("iosxr")
device_list = [["crouter1","ios", "switch"],["crouter2", "ios", "router"]]
network_devices = []
for device in device_list:
if device[1] == "ios":
network_devices.append(
driver_ios(
hostname = device[0],
username = "codingnetworks",
password = "Coding.Networks1"
)
)
elif device[1] == "iosxr":
network_devices.append(
driver_iosxr(
hostname = device[0],
username = "codingnetworks",
password = "Coding.Networks1"
)
)
devices_table = [["hostname", "vendor", "model", "uptime", "serial_number"]]
for device in network_devices:
print("Connecting to {} ...".format(device.hostname))
device.open()
print("Getting device facts")
device_facts = device.get_facts()
devices_table.append([device_facts["hostname"],
device_facts["vendor"],
device_facts["model"],
device_facts["uptime"],
device_facts["serial_number"]
])
device.close()
print("Done.")
print(tabulate(devices_table, headers="firstrow"))
if __name__ == '__main__':
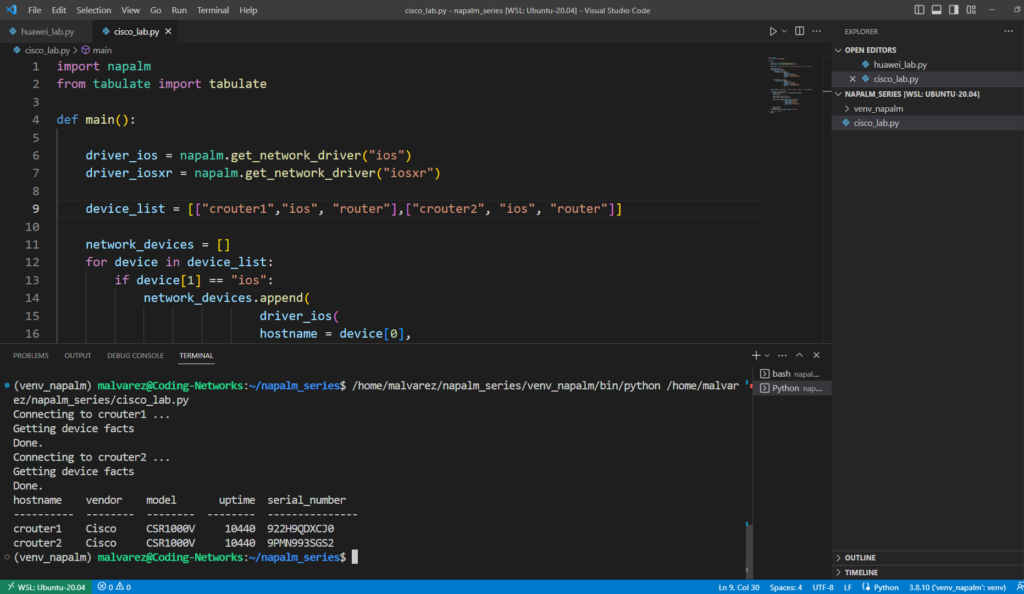
main()Output:

By
Related Posts
My Journey to the Cisco DevNet Specialist – SPAUTO
My Journey to the Cisco DevNet Specialist – Core (DEVCOR)
My Journey to the Cisco DevNet Associate