How to Deploy Cisco UCS Platform Emulator on VMWare Workstation 15 for Windows 10?
Introduction
If you follow me on Instagram and Twitter, you may have noticed that I have recently been studying and practicing for Cisco DevNet certifications.
During this study process I have known automation platforms such as Cisco UCS Manager. Which has an emulator that we can install on our PC. This emulator is a Virtual Appliance that emulates a complete UCS environment, from UCS Manager to Fabric Interconnect switches and servers. This allows us to test the functionalities of the UCS Manager and practice with the APIs without requiring physical hardware.
So let’s see in this tutorial, How to Download and Install Cisco UCS Platform for Emulator on VMWare Workstation 15 for Windows 10?
Also, if you wish, you can see the process in this video that I uploaded to YouTube:
Step # 1 – Download the .OVA image of the Cisco UCS Platform Emulator
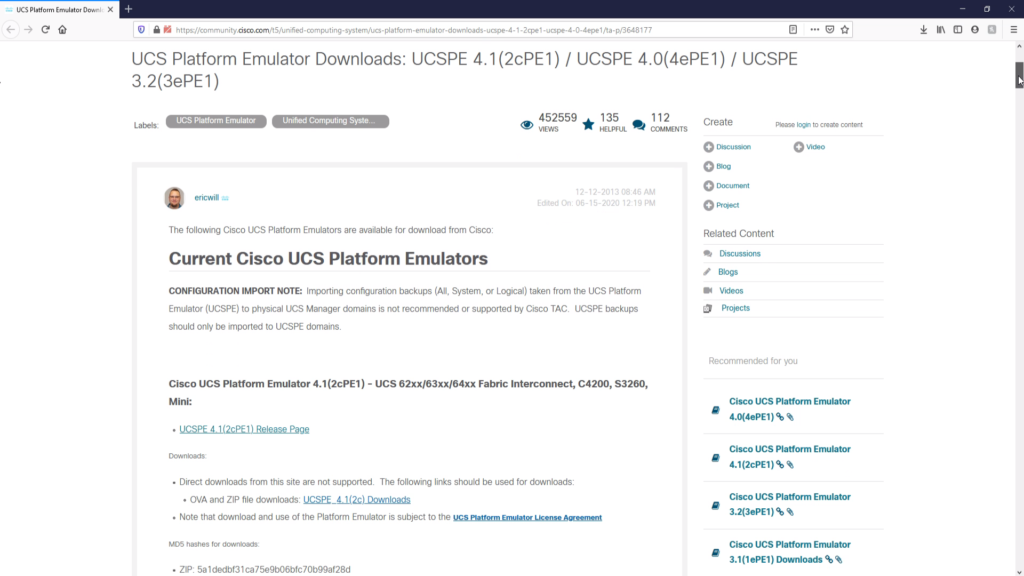
Link in the Cisco Community Forum on the Cisco UCS Platform Emulator:
By clicking on the link we will be accessing a publication by Eric Williams, where he shares the information and links to download the emulator. As you can see in image # 1, the official download link for the emulator is at the link called “UCSPE 4.1 (2c) Downloads”.
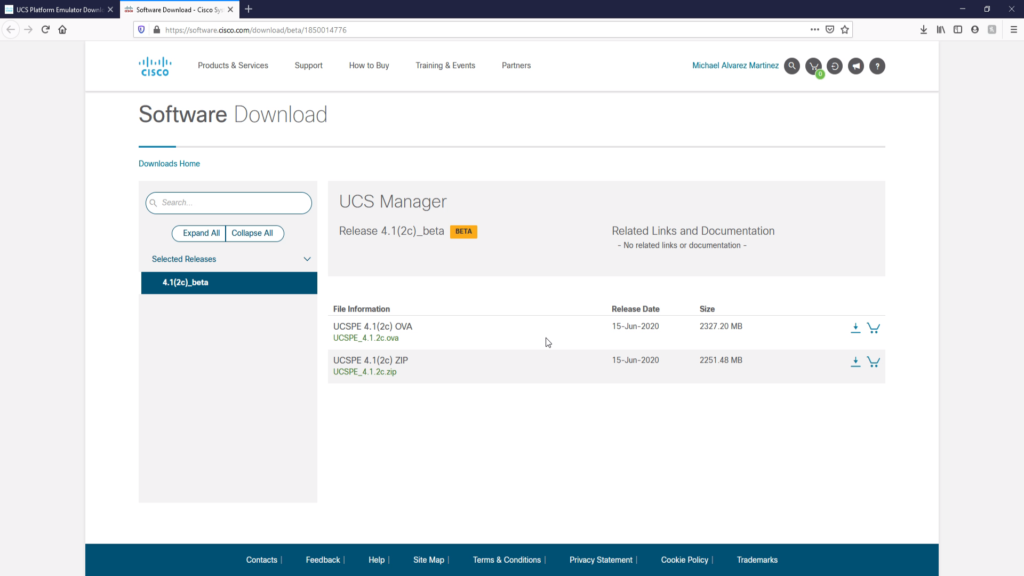
In image # 2 we are already on the official software download page. The emulator is in OVA format. Since this is deployed inside a preconfigured virtual machine, which we are going to load in VMWare Workstation. The appliance weighs approximately 2.3 GB, so the download will take a while depending on the speed of your Internet connection.
Step # 2 – Import the .OVA image into VMWare Works 15
Once you have downloaded the .OVA, we simply double-click and it will start importing the virtual machine into VM Workstation as seen in image # 3. This import process takes less than a minute.

Once this process is completed, we are going to change the type of network connection that the virtual machine brings. We are going to choose the Host Only type, which configures a private network between the virtual machine and the host, in this case my computer. In image # 4 I am choosing VMNet1 in Custom, because I already have this virtual adapter configured as Host-Only for a specific subnet. But you can directly choose the option that says Host-Only or any other VMNet that you have configured.
The process is repeated for the 3 virtual network interfaces.

Step # 4 – Start the VM and Perform Basic Settings
Let’s start the virtual machine.
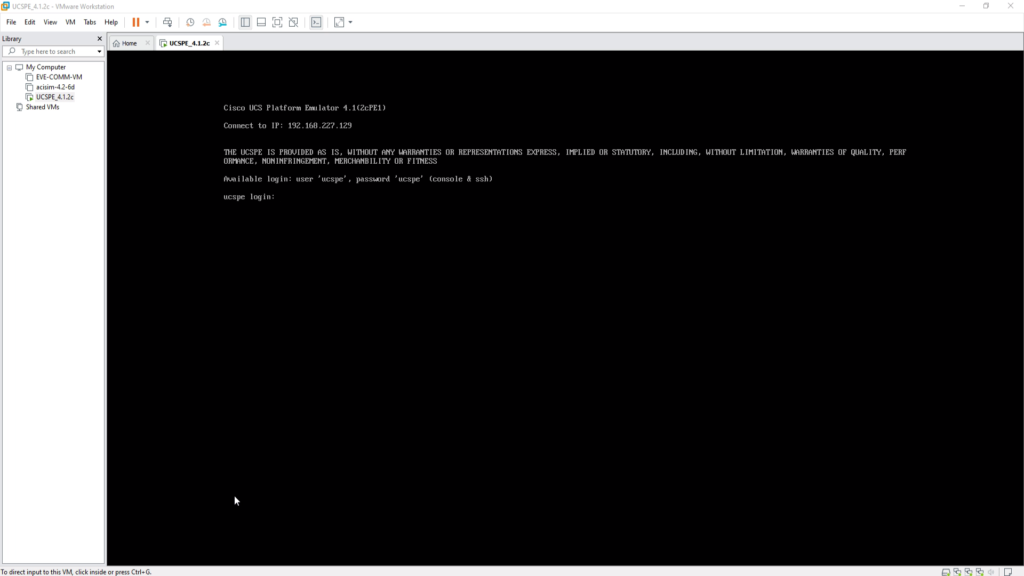
In image # 5 we see how the appliance boot process begins and then a self-installation and configuration process of the Emulator begins. During this process we do nothing, just wait. This process can take about 10 minutes or more, so be patient.

The signal for you to know that the system is up and running is when you get the Login that you see in image # 6.
The platform in the banner gives us the username (“ucspe”) and password (“ucspe”) to access the console. In this way you can confirm which is the Virtual IP with which the appliance was uploaded to proceed to enter the GUI through the Web. In my case, the 192.168.227.129 was auto configured. But for your case it may be different.
Step # 5 – Access the Web GUI
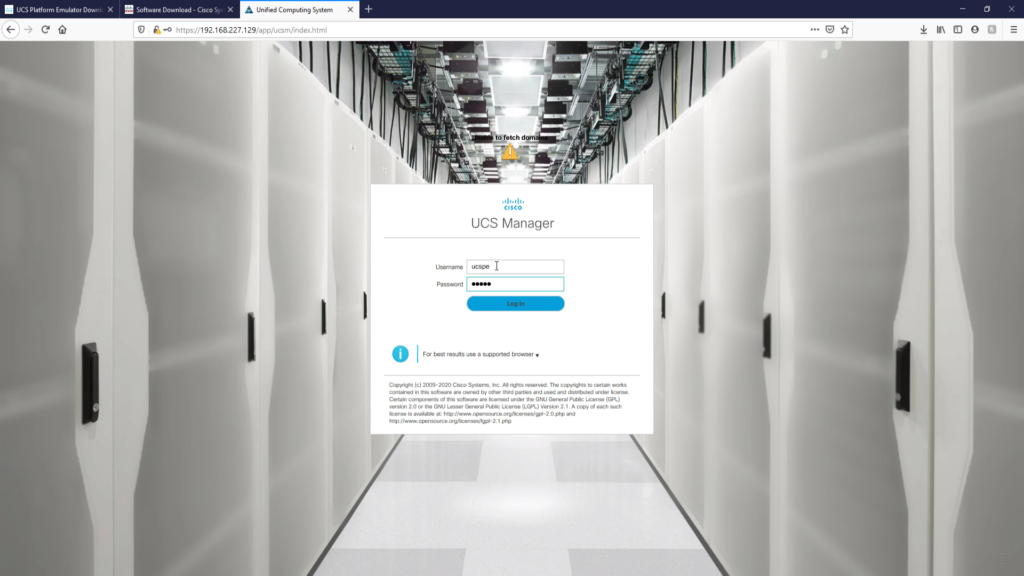
We proceed to open a browser and enter via HTTPS the virtual IP that we saw to access the UCS Manager GUI. We click on Launch UCS Manager as you can see in image # 7.

We enter the “ucspe” credentials that we saw on the console.
Step # 6 – Validate that all devices came up correctly in the topology.
Here we are inside the UCS Manager GUI. Finally, to conclude the process, let’s go to the topology that comes in the emulator to confirm that all the elements are loaded. As you can see in image # 9, you should get an equal infrastructure.

Conclusion
As you saw, this process is short and fast. This emulator is worth installing, because you can learn everything you need about Cisco UCS Manager for DevNet exams. The most important thing is that you can make calls to the APIs and practice programmability and automation.
In another Post and Video I will be showing how to use CURL, Postman and Python to make calls to the Cisco UCS Platform Emulator APIs.

By
Related Posts

Cisco ACI Simulator on VMWare Workstation 15 for Windows 10
Learning Docker from Zero. My Cheatsheet explained.
Learning Git from Zero. My Cheatsheet explained.