Introduction
Python has become the favorite programming language for Network Programmability and Automation. It is for this reason that regardless of the operating system you have, you need to know how to install Python to learn how to use it.
In this tutorial I want to teach you how to quickly install Python 3 on Ubuntu Linux and Windows 10 natively. I emphasize “natively”, since in Windows 10 there is an “Utility” from Ubuntu in the Microsoft store. This “Utility” allows you to use an Ubuntu Terminal as a command line tool. This gives you the opportunity to use Bash commands to do tasks on Windows. But this is a topic for another post. Let’s see how to install Python without using a Utility.
Step # 1 – Install Python 3 on Ubuntu Linux
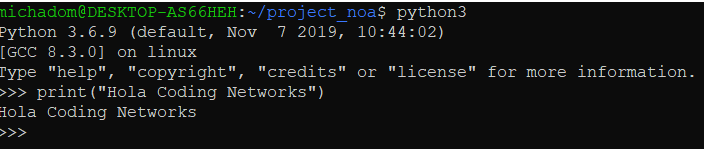
Recent versions of Ubuntu come with Python 3 installed, so you may not have to install it. To validate if you have Python 3 installed on your Ubuntu, you can run this command:
python3 -V

The output should look like this:
Python 3.6.9
In case you don’t have Python 3, you can install it from the Ubuntu repositories by running:
#Update repository list
sudo apt-get update

#If you want to install Python version 3.6
sudo apt-get install python3.6

#or if you want to install Python version 3.7
sudo apt-get install python3.7
Ready! You can now run the “python 3” command from the Ubuntu terminal and you can interact with Python.
Step # 2 – Install Python on Windows 10
In Windows we can install Python3 directly from the Microsoft store.
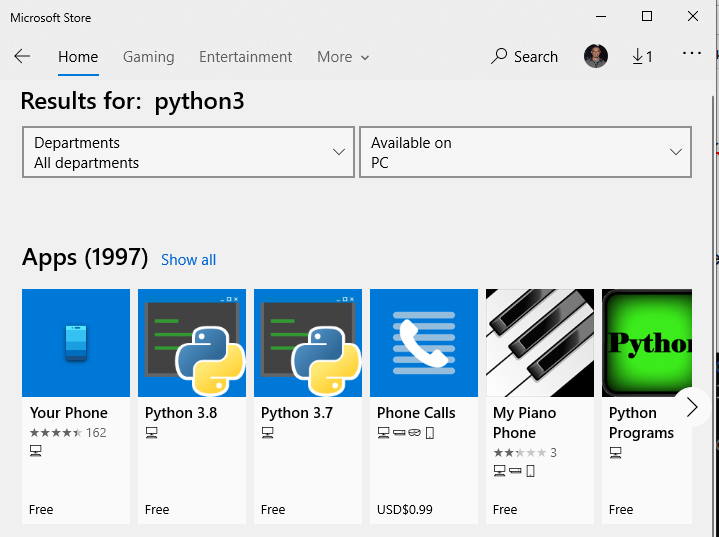
Once the App is found, we clic Get.
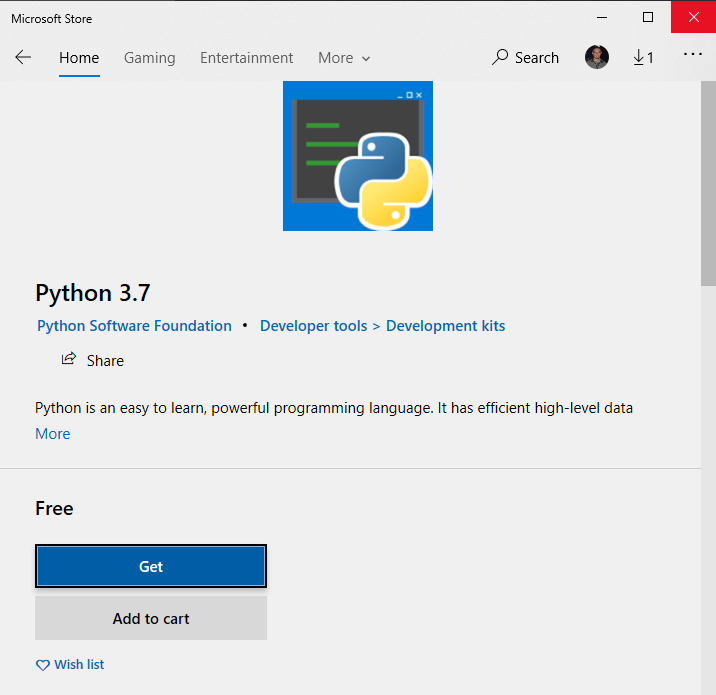
Installing Python 3 from the Microsoft store has the advantage that it integrates automatically with the Windows CMD.
Ready! You can now run the “python 3” command from the CMD and you can interact with Python.

Step # 3 (Optional) – Install Virtual Environment Python on Ubuntu Linux
There are times when we do not want to update or alter the versions of Python packages that we already have installed on our operating system. To avoid this Python offers you the opportunity to install and run all the packages in a Virtual Environment. Let’s see how.
We must first install an additional package:
sudo apt-get install -y python3-venvOnce we have installed this package, we will create the virtual environment with the following command:
python3 -m venv virtual_env“virtual_env” is the name of the folder where this virtual environment is located.
To use this environment, you must activate it, which you can do by typing the following command that calls the activation script:
source virtual_env_/bin/activateYour Prompt will now be prefixed with the environment name, in this case it is called virtual_env. Your prefix may look somewhat different, but the name of your environment in parentheses should be the first thing you see on your command line, example:
(virtual_env) codingnetworks@lab-pc:~$Step # 4 (Optional) – Install Virtual Python Environment on Windows 10
We can do the same in Windows.
The Python 3 installation that we downloaded from the Microsoft store already comes with the module to create the virtual environment. To create the virtual environment we just have to run the following command from the CMD:
python3 -m venv virtual_env
To activate it:
virtual_env\Scripts\activate
Your Prompt will now be prefixed with the environment name, in this case it is called virtual_env. Your prefix may look somewhat different, but the name of your environment in parentheses should be the first thing you see on your command line, example:
(virtual_env) C:\Users\micha\Documents>
Step # 5 (Optional) – Install Python PIP Package Manager on Ubuntu Linux
If it is not that Ubuntu Linux already comes with PIP or that when installing Python3 it is installed, you can install PIP in the following way.
Download PIP from the official website at this link:
https://bootstrap.pypa.io/get-pip.py
Just run the following command from the terminal:
python3 get-pip.py
You can now install packages with PIP with the following command
pip install <package>
Step # 6 (Optional) – Install Python PIP Package Manager on Windows 10
Download PIP from the official page at this link:
https://bootstrap.pypa.io/get-pip.py
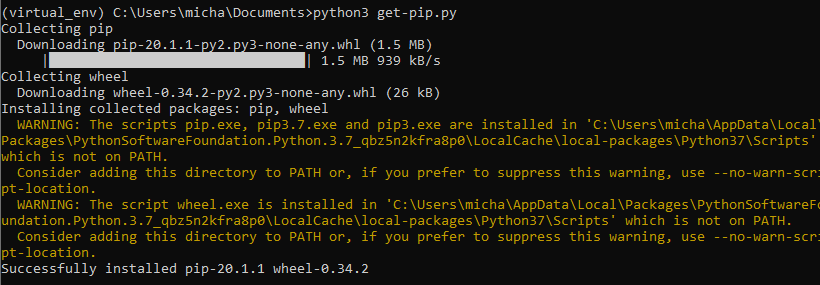
Then you just run the following command from the CMD:
python3 get-pip.py
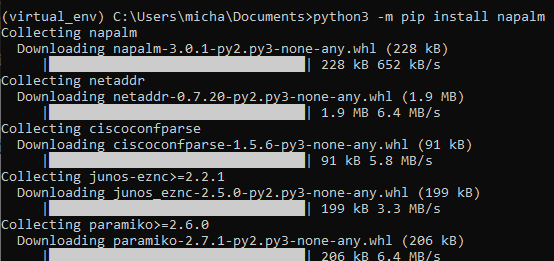
You can now install packages with PIP with the following command:
pip install <package>
Continue learning
Installing Python on your computer is just the beginning. Now you have to learn and master the language. You can start on the official Python page, where you will find very good documentation to start and become an expert in this interesting programming language. Here is the link: